My first post and I'm exposing my full nerd card. The most every day use of my Game Design Bachelors is honestly running Tabletop games. The one that I've been dreaming of running for years is LANCER, a TTRPG(Table Top Role Playing Game) set in the future where humanity has populated the stars and the players pilot giant robots. I've had the hard copy of the book on my shelf for a while, and since learning I'm dyslexic it's been hard to try to download whole systems into my brain via reading alone. But after about two weeks of reading the book before bed, I finally got confident enough to run the game.
The best part of LANCER is that only the person who runs the game, or GM/DM, has to buy the game. Their core rules are free on COMP/CON and those digital tools are totally free and available for anyone to use. The only things that aren't free on there are the NPC data files, which come with a digital purchase of the book (Or if you're like me, you kickstart the book years ago and have to harangue the authors to send you data files.) Where do we go once we have all this knowledge, a group of players, and the will to wrangle about 5 adults to play the game?
Foundry
Well if you're me, then you pick up foundry, a virtual tabletop that costs a single payment of 50$ to use forever. Then, you first look at the LANCER package to check the version of Foundry it will run on (At the time of writing it's version 10 of the software,) download that version, download that LANCER game system, and create a new world.
In foundry, a World is more or less a container to put all of your assets into. It's where you will be building the game before each session, and where your players will interact with the game. You make a new LANCER world, and just click create world and start exploring.
Future posts might go more in depth with setup and other foundry specific jargon, but there are dozens of youtube tutorials for those who need more detail about the above. I'm here for the design of the game, and the place I start with that is by making assets. Assets are anything that you'll need to visually run your game. Do you want to have a battle map with a city in one corner, wasteland in another, and a giant monster headed towards the city ? Then you'll need to draw the map, make sure the scale is correct, get enemy images, create stat blocks for said enemies, and so on and so forth. I'll start with Tiled, and the generation of the backgrounds for the battle maps
Tiled
I am not an artist. I have never understood how to draw, how to create beauty with color or pen to paper. That said I can play with Lego and fit images together to create a map, and that's what I'm here to document. I personally use a software called Tiled, which is a pixel mapping software that can take tilesets in and lets the user paint with those tiles. I personally use this free LANCER tileset when I do my development. There are many options, paid and free, on itch.io, which I encourage you to explore.
Once you have downloaded both Tiled and the tileset, you can import the assets into Tiled and get started. By getting started, I mean figure out what you're even doing here. The background image is not only used to set the scene, but it is also what we use to interact with the game. Below is an example of an area control map that I made. The players started at the bottom, and the enemies at the top. The goal was for the players to move to the two lower cities and capture them, and then make it past the power line chokepoints to get to the anti-air cannons and take control of them as well. If an enemy got adjacent to any objective they would take control of that area. The players needed to control all 4 quadrants to instantly win, but if they could hold the AA cannons for 2 rounds then they would also win.
Technical note time: I usually do a 30x30 map because changing the aspect ratio of the map makes the later steps more difficult, so I just have been doing 30x30 for most of them, which feels good. I also make sure that it's a hexagonal(staggered) orientation and make sure the tile width/height is 32x32 for MATH reasons later. Most other defaults are totally fine.
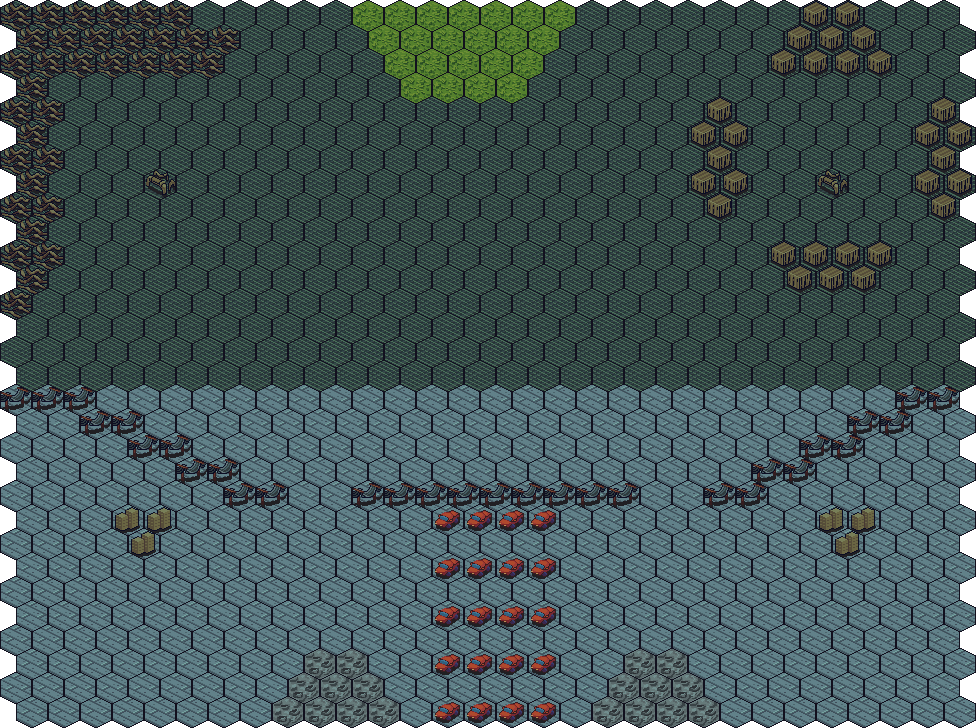
When I design a map, I take a strange type of tile and use that for the deployment zones. In this case, the cratered areas at the bottom are where the players were able to start, and the grassy area up top were where the enemies would deploy. This way, at a glance, the players can tell where threats were coming from as well as plan ahead for reinforcements if they were a concern. The cars and power lines were ways for me to make the lower area harder to traverse, specifically any larger characters couldn't pass the cars, but little ones could zoom past them.
The initial concept of this map came from the LANCER playbook, but I adapted it on the fly for my players. If you take nothing else from this post, understand this: you are not a machine, and the benefit to human run games over machine run games is our ability to adapt. If you aren't changing and working with your players to make the game fun, then you might as well be playing a video game. So what were the adaptations I made for this map? Well, it turns out the cities on the bottom were so protected by the environment that the players didn't really see the use in holding them, since the AA cannons were the true objective. So, how did I incentivize the players to hold the cities? I had the cities provide a size ten accuracy bonus to whoever held them. This meant that the players suddenly gained something by holding them for a long time, and they actually cared when they were stolen from them. I recognized that I made the map have an unbalanced top and bottom half, and I used that asymmetry to make an interesting decision for the players. One player even took it on himself to volley between the two cities chasing down enemies that broke through the vanguard.
Anyways, back to technical stuff: When developing a map, have a core idea for what you want the mechanics of the map should be, get those things down, and then add some complications. I honestly spend no more than 15 min developing the map because as long as there is a minimum level of complexity, the extra time invested at this stage won't give me much more fun, so why waste my time? Once you feel comfortable with your work, save(do this many times while working please), then export the image. I have a naming schema of LANCER x-y, where X is the session number and y is the part of the mission. Usually I don't add the y unless it's a multipart mission, which I only did once as a finale for the arc.
So, we now have a background image that we can use in foundry! Once we have this image, Tiled has done its duty. We salute all the hard work our little program has done, and we open up our LANCER world in foundry.
Scene Design
So now we are on a landing page for our foundry world. We need to do a few things: We need a scene for our players to move around and we need actors for our players to interact with. So we'll start with a Landing page for the players to use as a gathering place, a place for them to roll before the boots on the ground portion of the program.
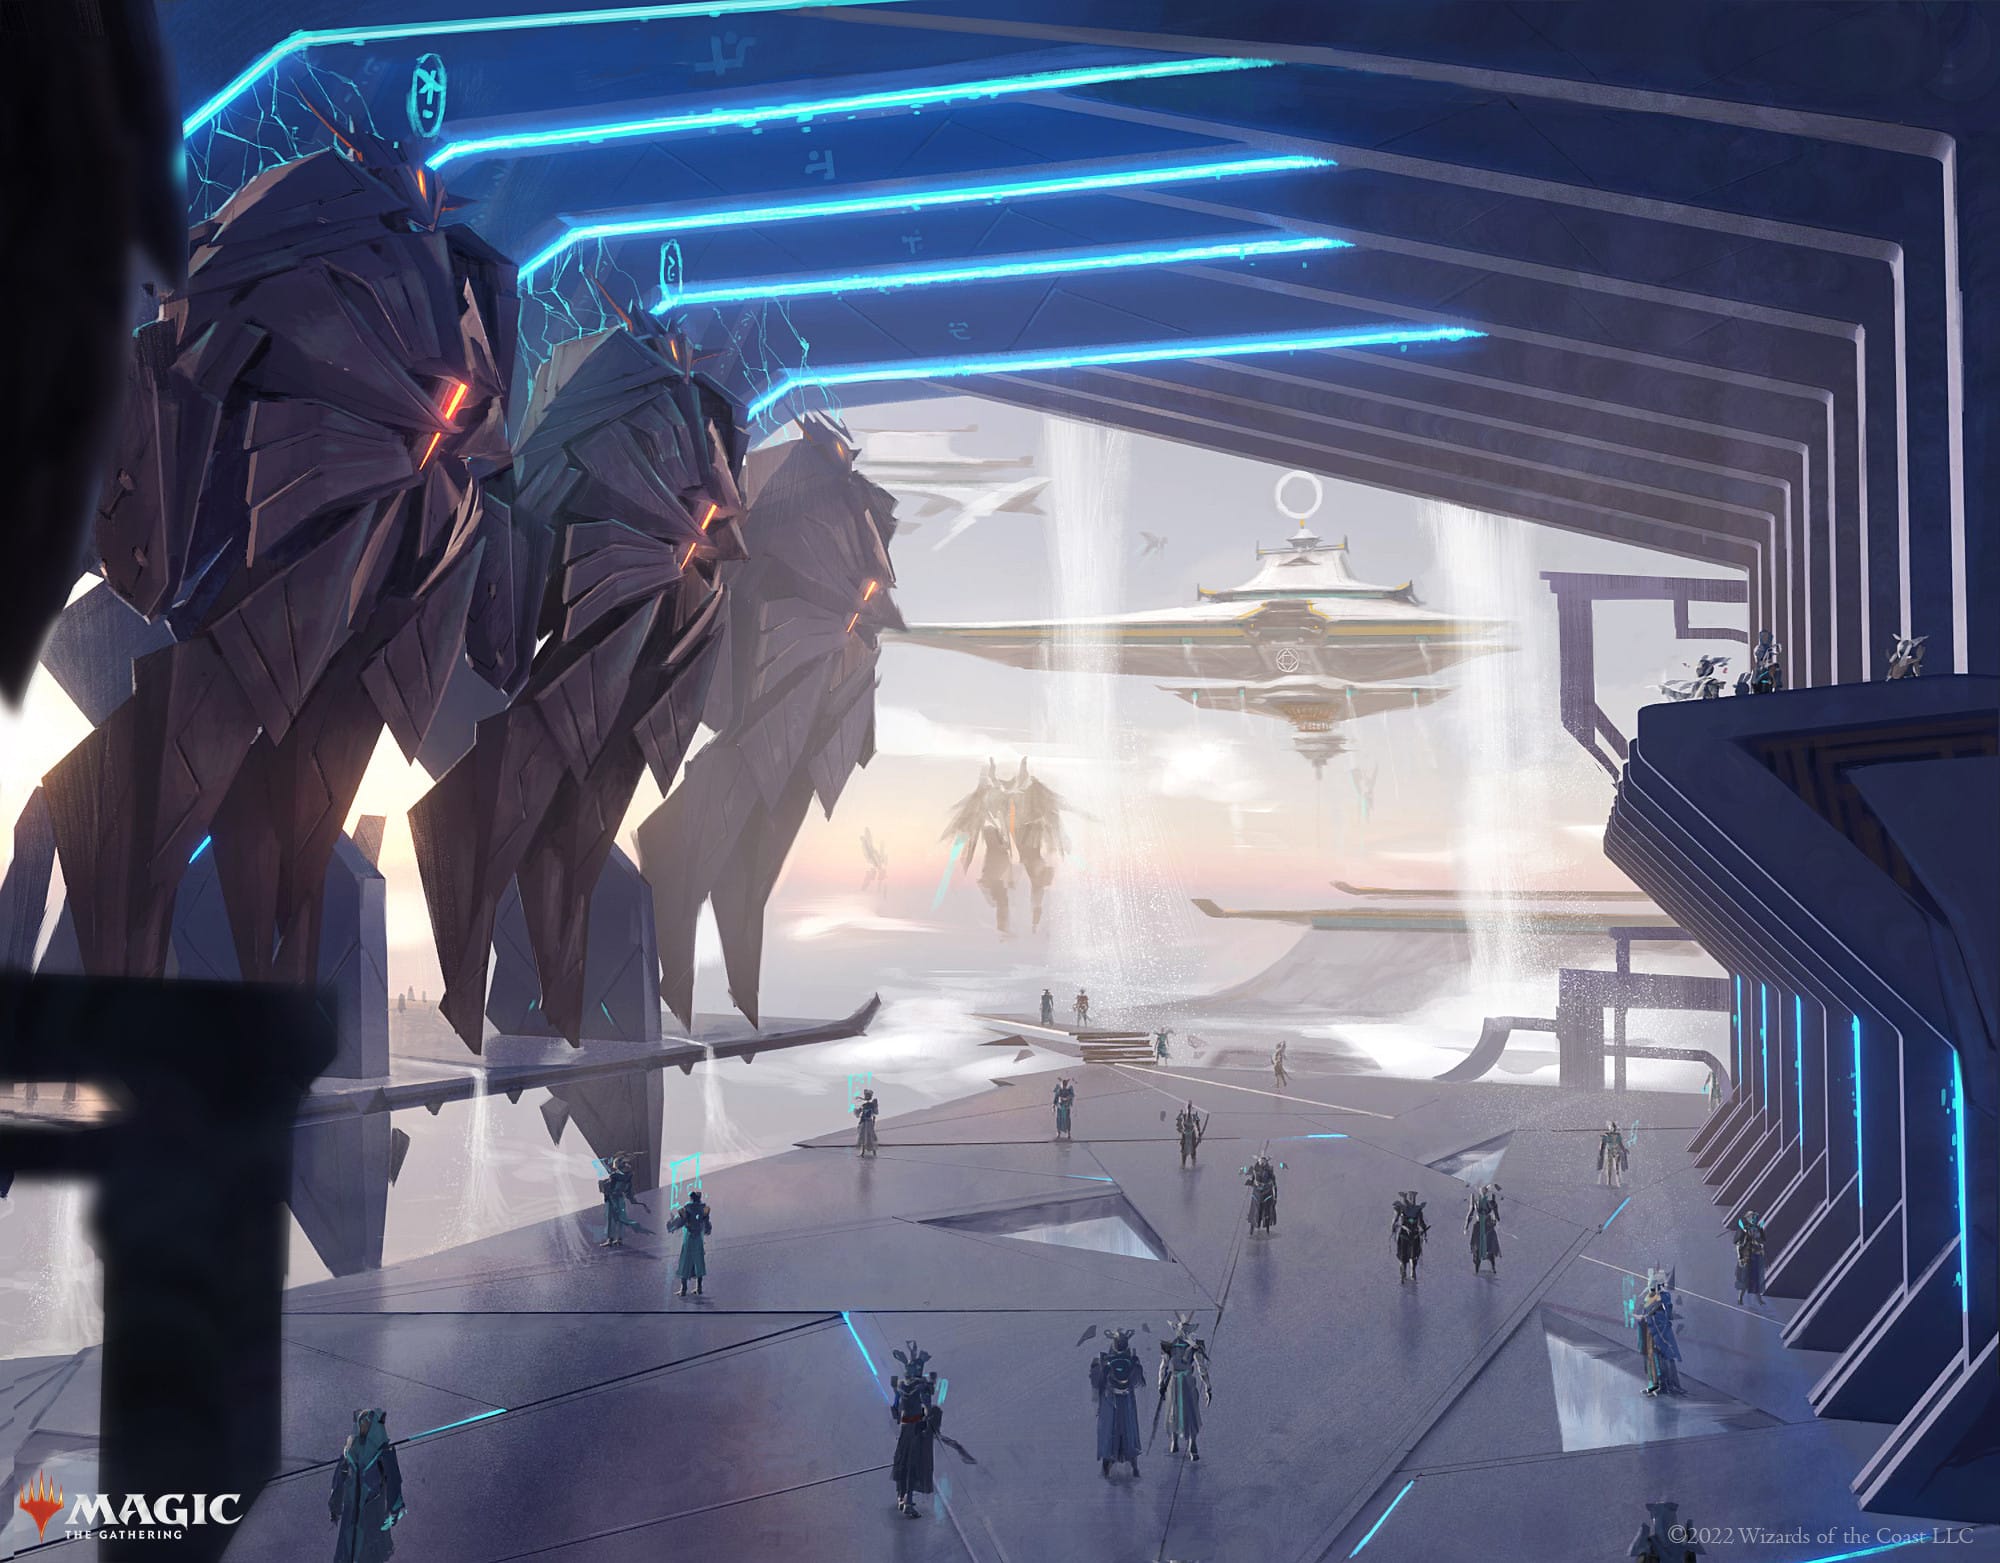
So, we go to the Scene tab on the right side of Foundry, we click on "Create Scene", and the only thing we care about on this is the background. Set the role playing scene for your players! I personally have some MTG art and other things, like frames of Bladerunner and Star Trek to set the mood of the session. So, we now have a little play area with a background, but how do we get a usable map into this sucker?!
Well, first of all, for the love of god, organize your work from session 0. Make sure every single mission has its own folder for both scenes and actors. This way, you can make sure you're only using the assets that you planned for this week, and if you want to go in the past for a character or NPC to reuse you know where to find it. Also, make a little folder for your player characters to live in. That way, you are able to drag anything they need (like turrets or mines) into the scene from that folder instead of panicking while playing. That's basically the major thing we're trying to avoid by doing all this work!
Now, we should make our Session 1 folder in our scenes panel, and make a Scene in that folder for our map we made. Name it something fun or thematic, and note your players WILL see the map name. So, for the above example, I named it Capture Points so the players would go "Oh yeah, we are capturing points!" when they saw it. Open up the configuration of this and upload the background to your worlds folder in the Background Image. That's pretty much the only thing we need in the basics panel, the grid panel is where we'll go next.
Click on Grid, and then make the grid type Hexagonal Rows - Even. Make the Grid Size 64 pixels. Remember how earlier we made sure our tile assets were 32x32? This is double that, which will mean it's perfectly scaled if we make the width and height dimensions of the grid twice the size (more or less) than the image. With my normal setup, I make the Width 1952 and the height 1682, and then make sure you have 0 padding. Due to the weirdness of hex support, making no padding means that the math lines up much nicer. Feel free to modify your grid opacity(Set it to 1 for debugging), and then save your changes. At this point, your grid should match your background image. If it doesn't, please keep modifying the width and height slightly until you feel like it's good for you. Boom, Bob's your uncle, we have a battle map all set to go. But that map is only as fun as the enemies we have to fight in the map, so I'll walk you through actors next.
Foundry Actors
Organization note: Please make two folders at the start, one for NPC(Non player characters) and your player's assets. LANCER is amazing, and the COMP/CON tool actually exports to foundry. So have your players use that application to do their management stuff on their own accounts. Then have them send you a share code, which you can import as a remote asset on COMP/CON and it will update and sync with their updates. This helps you peek into their characters, stats, background, mechs, etc as you create a story together. You can also log into COMP/CON in your foundry on the system tab, and when you do you can pull in assets from there.
Before we pull anything into Foundry, make sure that you do some User Management. Make a user for each player, put the correct name in there, feel free to use or disregard the password, and make sure you set their roles to player. You should also see a Gamemaster role and name, that's you, the person running the game. I personally made a player a Trusted Player role, because he also uses Foundry and can be a helper.
So make a new pilot actor in your Player Characters folder and put that player name in the Name field, then create actor. Navigate to the <RM-4://SYNC> tab on the empty sheet, pop the share code into the field at the top there, and click the download button. If your player did their job, this will automatically pull in and create assets for you. On each of these actors that are pulled in, right click them and Configure Ownership. In the dropdown next to the player, make the correct one the owner of this asset. This will let them see with it, as well as move it about. Do this once for each player and you'll have a MASSIVE folder now, filled with mechs, pilots, and deployables. Aren't you glad I reminded you to make this into a collapsible folder? Now, before every session, all you have to do it go to each pilot, make sure your players have synced to the cloud, and then update them in Foundry with that little download button. That will automatically pull in any new mechs they have designed as well as stat upgrades and more.
Now, this is my favorite part of the game: Making baddies to bully your players with. In LANCER there are five types of units: Assault, Defender, Support, Controller, and Artillery.
Assault are for rushing down and dealing damage. Highly mobile, High damage, but likely to die very quickly without the other types.
Artillery are for doing damage at range. These are good for softening up larger targets or picking off weaker enemies, but aren't very mobile.
Controllers are for controlling the field of battle. They deploy cover, mines, drones, all sorts of things to affect the map.
Defenders are bullet sponges that are close range monsters and act as cover for their buddies. Low mobility is their drawback, as well as being weak to non-damaging attacks like hacking.
Support directly buff or heal their allies, making sure that the enemies can't swat your assault like a fly.
When designing an encounter, the name of the game is balance. Sure you can have a full assault team, but they will likely be destroyed pretty quickly. You should be thinking not only about "what enemies would work well on this map?" but also "What is the story I am trying to tell with this game?"
Continuing with out example Capture Point mission, I chose to have four different types of enemies. I usually design four or five enemy types per map, that way I can have a solid variety for the players to interact with as well as a cohesive strategy that I can form while designing. So, lets walk through what making an NPC is like step by step.
First, in our NPC folder, make a numbered mission folder so that you can really focus on just this mission. Add new actor, give it a name(that is changeable later) and make its type NPC this time. We are shown an empty sheet, which I drag off to the right side of the program next to the actor list. At this point, make sure you've gone to the settings tab and logged into COMP/CON, and make sure you have the NPC data that you purchased with your core rule book. Now, go to the Compendium Packs tab and navigate down to the NPC Class folder under item and click that open. We can now see a huge list of named classes in our Foundry, and this is where I suggest having a few COMP/CON tabs open to have references to what these NPCs even do. Feel free to drag any of the listed Npc Class options in this compendium panel into the empty NPC sheet and voila, you should now have a base rank 1 enemy!
This is where the fun design stuff comes in. In COMP/CON you should have 2 panels open, one with your chosen NPC class and another with the NPC templates. These are the two spices that we mix together to create a proper enemy for your team to collide with. In foundry, close out of the Npc Class compendium and open up the Npc Template panel in your compendium, as well as the Npc Feature compendium and drag these around so you can view them. These are also click/drag able into your NPC sheet, and they will help you add flavor or abilities to your enemies. Are you in space? Then drag the SPACER template over. Do you want to make a Nemesis for your players? Make a VETERAN to make the enemy memorable.
Lets go back to my example and I'll show you the four NPCs I made for this control map. This is a pretty large map, and I wanted mobile enemy fighters to constantly harass the control points, but I also wanted a few enemies to stay in the top half and hunker down near the AA guns. So I made an ACE and an OPERATOR, the first being a flying unit to zip around and annoy and the later being a unit that can STEP, which is a move that teleports you 50 units. I then designed a SPITE and an ARCHER as a less mobile combo that the players would need to remove in order to access the AA guns. Since my players were still rather new, I made these enemies have no templates, but I did add in an extra ability from the Optional Features for each class. Simply look them up in the Npc Feature compendium and drag them on the sheet for reference. And with that, all the players and enemies are designed and ready to use!
Pulling it all together
We're almost done! We just need to make a few more adjustments before we play. To start, click on your player's mech actor to open its sheet. Then, in the top panel, there is a Prototype Token button. Click that to make a base change to the token that will be used any time you drag them onto your map. If your players gave you a custom image for their mech, you can go to the Appearance tab and change the Image Path to be the custom asset. Simply click the file button, make sure you're in the assets/Player Token folder and upload the image so you can find it again later. Mess with the scale if you feel its to small or large for the spaces it takes up, and that should do it for Appearance. Next up is the Vision tab, where we need to make sure Vision is enabled. I was originally a fool and made the vision range equal to their Sensors range, but I later learned that is not the case. So you can set your range to 100 grid units and your characters will always be able to see everything on your map. That should do it for the prototyping, just click update token and make sure all your changes stuck by dragging the token onto your map, move them around, make sure they're good.
Next is Terrain and Enemies. Terrain is simple but tedious. On the left side of the application, select the Wall Controls option (It looks like a pillared building) and click the purple + that will snap you to the grid. Then simply click invisible wall and take your time by outlining every area you don't want your players to walk through. If you're smart, you made most cover the same size on your map so you can copy and paste your walls. I usually go really fine on the wall detailing, making sure that I outline each individual hex, and I admit that is overkill. As long as a hex is fully enclosed by walls, they shouldn't be able to get through that space.
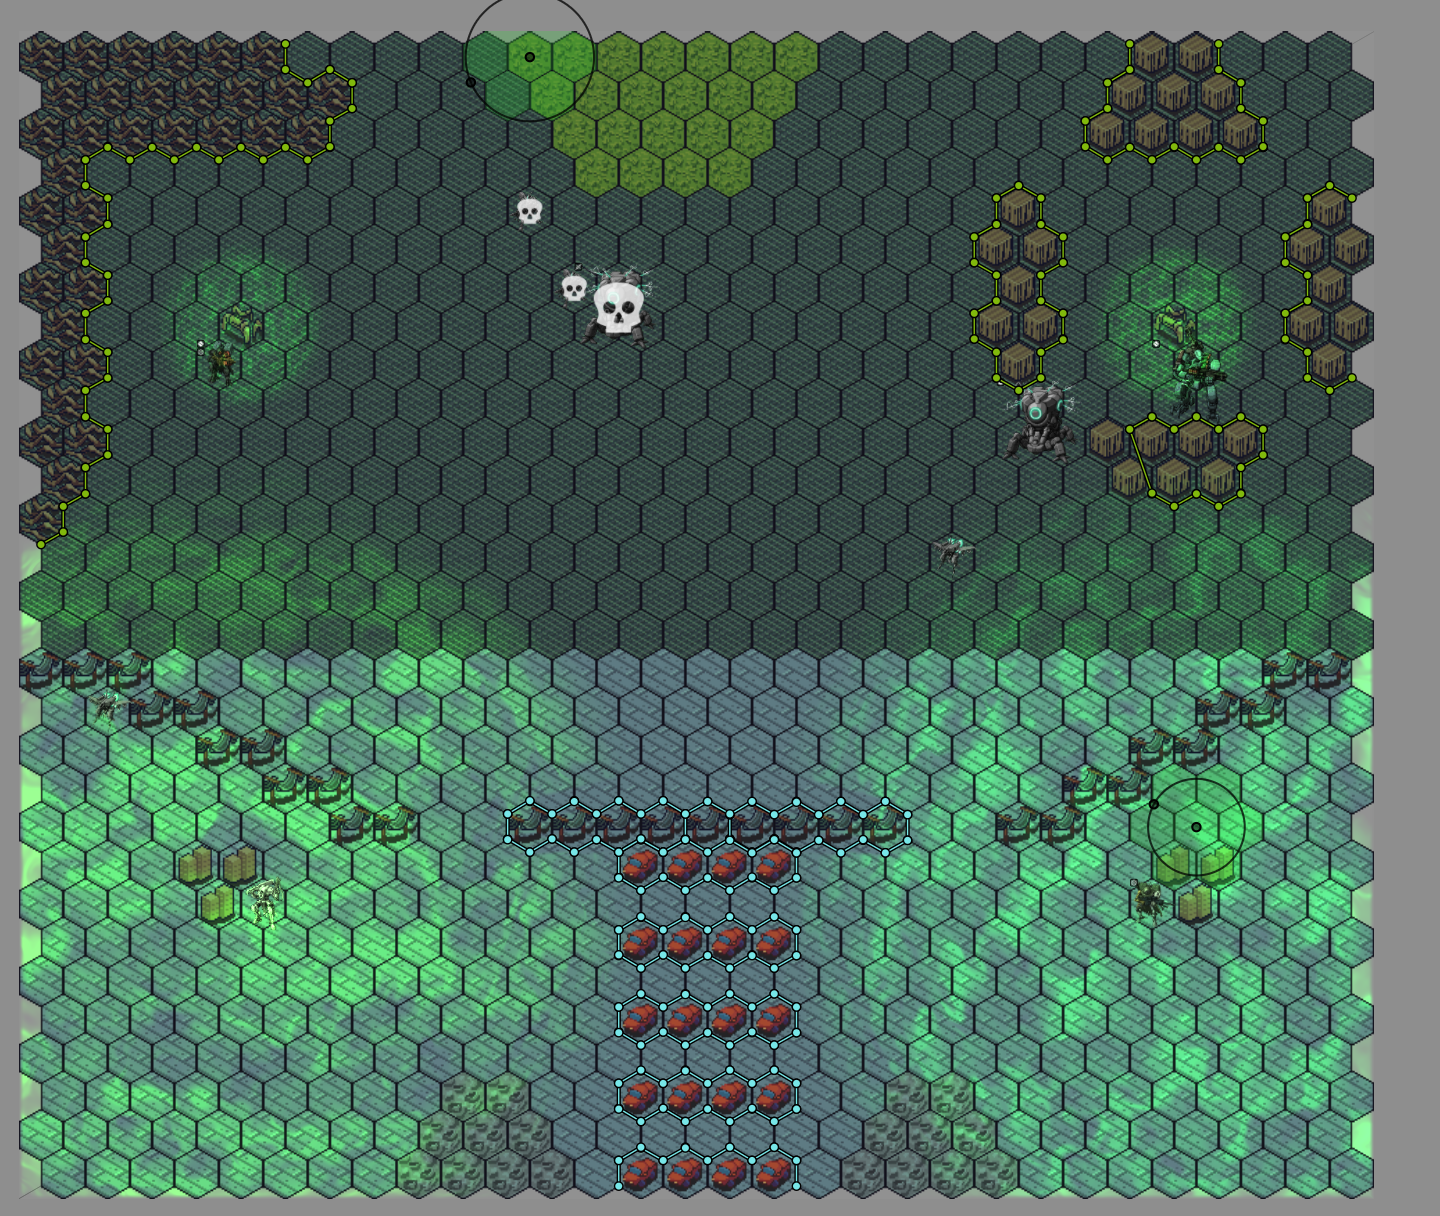
So, lets talk about Enemies! I started the encounter with 2 SPITE units and had them want to sit near the AA Guns and disrupt the players. A single archer accompanied them, alongside an ACE to quickly take the command points. I let the players know that there would be reinforcements up at the top in round 3. The reinforcements was another Ace, another archer, but 2 OPERATORS this time. Why have the Operators come in the second wave and the SPITE in the first? Well, those defenders can only move 2 spaces a turn (4 with a boost), so they needed the extra rounds to get in position. OPERATORS can step, so they would be able to instantly move to the bottom of the map to try to take the cities.
The final thing I'll note is the green areas on the picture above: I made a light object on each of the control points. The 4 of them started by having the light shed as a basic white, and only around the spaces that the actors would need to enter to claim them. I then modified the light to be red or green for Enemies or Players. Finally, I grew the Cities to be 10 spaces, to show that their area of +1 accuracy for players. If a player was in that space, said "Oh yeah, accuracy!" and then I'd let them take their shot with accuracy. I'll get into the running of the game and the notes in some other post.
LANCER and the Future
I hope this high level view of LANCER and foundry have been useful, I know that I'll refer to these notes when I ever need to remember a step. I'll cover other parts of LANCER later, from the world building I did as well as how I GM by working with my players. Please let me know if you read this and found any of it interesting or useful. If not, let me know if there is a better way of doing it and I'll happily try that out!